This past fall I went to our state art teacher convention and got to take a class working with cyanotype photography. I had never worked with cyanotype before and I instantly fell in love with it, and I knew that my students would as well. So even though I had told my principal that I was set with supplies for the year, I walked in after the workshop and told him I had to have these chemicals.
Now comes the difficult part, I couldn't get the lesson in until after the new year. And I don't know if you know anything about the weather in South Dakota, but winter tends to be cold and not always sunny. So we had to take several days of experimenting with windows and working in the snow before we figured out the system. Luckily we got it figured out, and it will become one of the projects that we do in the fall next year.
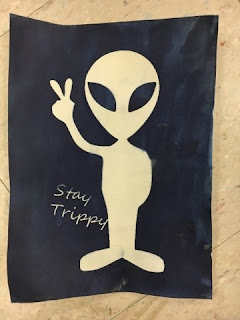
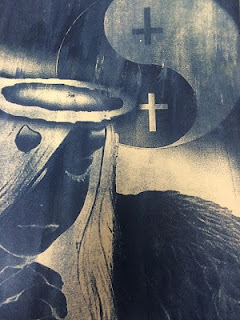
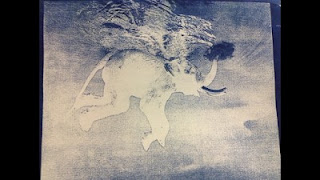
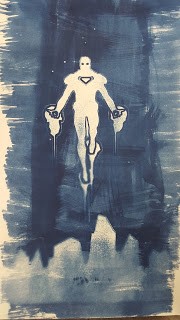
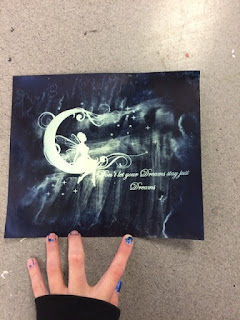
Since cyanotype works best with a transparency image, I made the students design an image in either Word or Photoshop. Since this was our first time I let them do anything that they wanted, but I did pick up some ideas for the next time we do it. For instance, try not to do too much grey area, but at the same time too simple is kind of boring. Don't do anything with too much detail, like images of people. They don't always look like the people you want them to be, so keep that in mind.
Here are a few of my favorites, and if you have any other great suggestions I would love to hear about them.
 |
| Bree H. |
 |
| Brooke A. |
 |
| Courtney M. |
 |
| Drea B. |
 |
| Jacob K. |
 |
| Paige Q. |
 |
| Mikayla R. - this one is on a t-shirt |


No comments:
Post a Comment